Tracks: Self-Guided Learning Paths with Certificates
Tracks combine courses, workshops, and projects into expert-curated curriculums. Choose from 60+ Tracks in subjects like Python, JavaScript, AI, web development, business, and design, with step-by-step progression from beginner to job-ready, plus a certificate when you complete a Track.
Topics
Browse content by the topics that interest you most.
- AI

- C#

- College Credit

- Computer Science

- Data Analysis

- Databases

- Design

- Development Tools

- Digital Literacy

- HTML

- Java

- JavaScript

- No-Code

- PHP

- Professional Growth

- Python

- React

- Ruby

- Security

Most Popular
These are some of the most common tracks students start with.
-

Front End Web Development
Learn to code websites using HTML, CSS, and JavaScript.
48 hours- JavaScript
- Beginner
- 49 hours
- Certificate
-
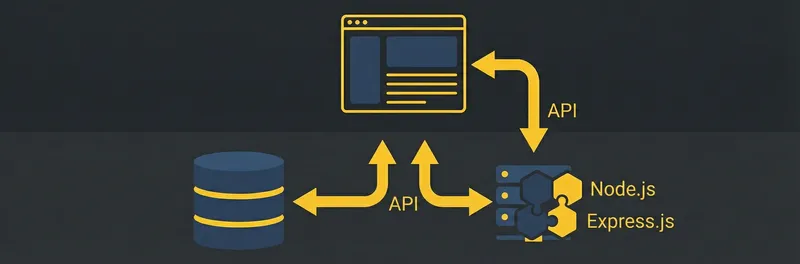
Full Stack JavaScript
Learn JavaScript, Node.js, and Express to become a professional JavaScript de...
38 hours- JavaScript
- Beginner
- 38 hours
- Certificate
-

Beginning Python
Learn the general purpose programming language Python and build large and sma...
14 hours- Python
- Beginner
- 15 hours
- Certificate
All Tracks
Tracks provide a roadmap through different languages and common development stacks.
-
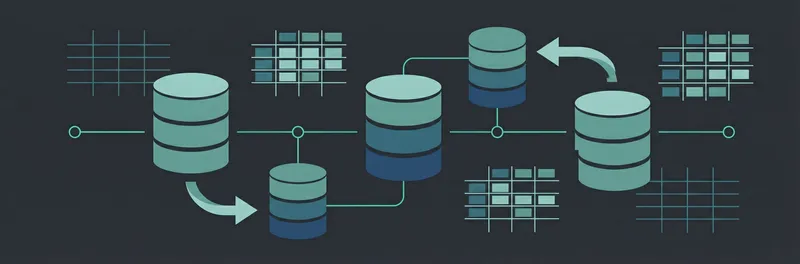
Beginning SQL
Learn the basics of SQL the language for communicating with relational databa...
11 hours- Databases
- Beginner
- 11 hours
- Certificate
-

Web Design
In this track, we'll learn everything necessary to build basic websites. The ...
42 hours- Design
- Beginner
- 42 hours
- Certificate
-

Learn React
Learn React, a popular JavaScript library for building user interfaces.
11 hours- React
- Beginner
- 12 hours
- Certificate
-

Beginning JavaScript
Learn the fundamentals of JavaScript, one of the most popular programming lan...
20 hours- JavaScript
- Beginner
- 20 hours
- Certificate
-
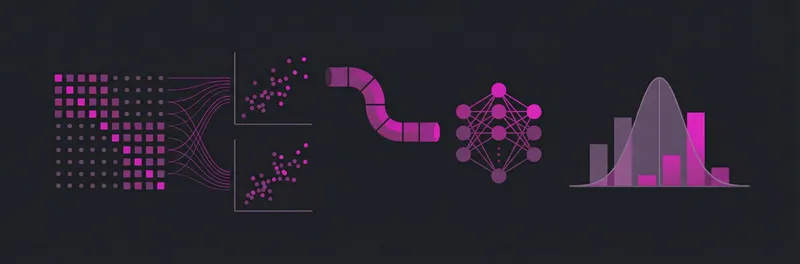
Beginning Data Science
Learn the fundamentals of a data science. You'll pick up terms, tools and tec...
24 hours- Data Analysis
- Beginner
- 24 hours
- Certificate
-

Beginning C#
Learn the C# programming language and the .NET Framework and build amazing ap...
11 hours- C#
- Beginner
- 11 hours
- Certificate
-

Learn to Code for Beginners
Looking to make a career change into tech but don’t know where to start? This...
2 hours- Development Tools
- Beginner
- 3 hours
-

Beginning Java
Java is a very mature language and you will find it running in places that re...
13 hours- Java
- Beginner
- 14 hours
- Certificate
-

Digital Literacy
Digital literacy covers basic computing principles and foundational knowledge...
14 hours- Digital Literacy
- Beginner
- 14 hours
- Certificate
-

Full Stack Foundations
Learn a wide variety of in-demand skills through the front and back ends of p...
37 hours- Digital Literacy
- Beginner
- 38 hours
- Certificate
-

Beginning PHP
PHP is a back-end programming language that allows us to create dynamic web s...
22 hours- PHP
- Beginner
- 22 hours
- Certificate
-
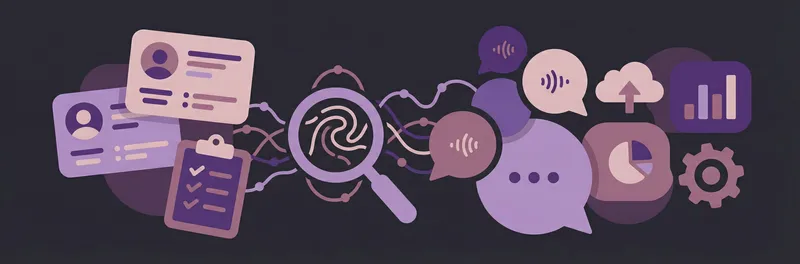
UX: Research Process
In this track, you'll learn the fundamentals of UX Research, from thinking li...
9 hours- Design
- Beginner
- 10 hours
- Certificate
-
Intermediate Python
Deep dive into local Python Development tips and tricks and industry best pra...
11 hours- Python
- Beginner
- 12 hours
- Certificate
-
UX: Interaction Design
In this track, you'll be introduced to important product design concepts and ...
10 hours- Design
- Beginner
- 10 hours
- Certificate
-

Beginning Data Analysis
In this track you'll learn everything you need to know to get started with Da...
8 hours- Data Analysis
- Beginner
- 8 hours
- Certificate
-
Algorithms and Data Structures
Learn about fundamental algorithms and data structures in computer science
7 hours- Computer Science
- Beginner
- 7 hours
- Certificate
-

Learn HTML
Learn how to build the structure of web pages using HTML (HyperText Markup La...
11 hours- HTML
- Beginner
- 12 hours
- Certificate
-

Design and Build a Website
This course covers some of the basics you'll need to get your website up and ...
17 hours- Design
- Beginner
- 17 hours
- Certificate
-
Design Skills for Web Developers
Whether you're looking to speak the same language as your design team to faci...
16 hours- Design
- Beginner
- 17 hours
- Certificate
-
Rails Development
Ruby on Rails is a popular web application framework written in the Ruby prog...
22 hours- Ruby
- Beginner
- 22 hours
- Certificate
-
UX: Visual Design Process
In this track, you'll learn various methods of iterating on a design idea, fr...
12 hours- Design
- Beginner
- 12 hours
- Certificate
-

Computer Science Basics
Computer Science (CS) is a foundational skill for technical engineering and d...
7 hours- Computer Science
- Beginner
- 8 hours
- Certificate
-
Intermediate Java
Java is a very mature language and you will find it running in places that re...
7 hours- Java
- Beginner
- 7 hours
- Certificate
-

Object-Oriented PHP
Learn the modern approach to Application Development in PHP using Objects, Te...
13 hours- PHP
- Beginner
- 13 hours
- Certificate
-

Start Your Coding Journey
This track will give you an overview of a variety of different programming la...
34 hours- Development Tools
- Beginner
- 34 hours
- Certificate
-
Intermediate PHP
Broaden your PHP skills to build data driven sites that interact with Relatio...
17 hours- PHP
- Beginner
- 17 hours
- Certificate
-
Product Management Basics
Product Management is a fast-growing career field in the technical industry. ...
17 hours- Development Tools
- Beginner
- 17 hours
- Certificate
-
Practice Front End Web Development
Practice coding websites using HTML, CSS, and JavaScript.
1 hour- Development Tools
- Beginner
- 2 hours
-
Learn Ruby
Ruby is a popular programming language that is used for everything from comma...
13 hours- Ruby
- Beginner
- 14 hours
- Certificate
-

Introduction to Project Management
Learn project management with a guided curriculum focused on helping you deve...
12 hours- Development Tools
- Beginner
- 12 hours
- Certificate
-
Exploring Flask with SQLAlchemy
Learn the web framework Flask so you can build web apps and sites using Python.
17 hours- Python
- Beginner
- 18 hours
- Certificate
-

Beginning Security
Learn the basics of how to secure yourself, your data, and your applications ...
4 hours- Security
- Beginner
- 4 hours
- Certificate
-

Skills for a Modern Entrepreneur or Business Owner
Learn the mix of modern skills required to run a successful business and be a...
31 hours- Professional Growth
- Beginner
- 31 hours
- Certificate
-

STEM Learning - for Kids!
Learn the fundamentals of technology with a kid-friendly curriculum!
5 hours- Computer Science
- Beginner
- 6 hours
- Certificate
-

Web Programming Skills for Graphic Designers
In this track, we cover the basics of the most common Front End Web Developme...
37 hours- Design
- Beginner
- 37 hours
- Certificate
-
Introduction to Marketing and Sales Analytics
Learn how data drives the bottom line, and the most important data to track a...
9 hours- Professional Growth
- Beginner
- 9 hours
- Certificate
-
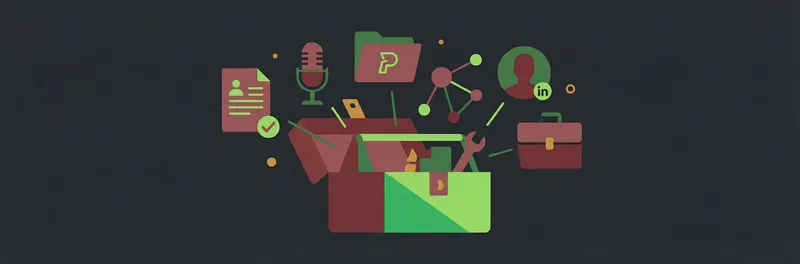
Treehouse Career Toolbox
The Career Toolbox Track helps you build the skills you need to land a job in...
1 hour- Professional Growth
- Beginner
- 2 hours
-
Exploring Flask with Peewee
Learn the web framework Flask so you can build web apps and sites using Python.
19 hours- Python
- Beginner
- 20 hours
- Certificate
-
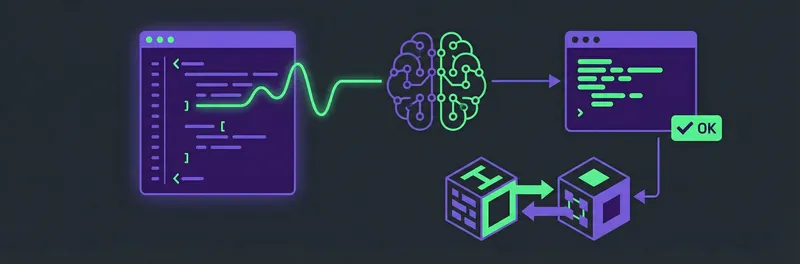
AI for Programmers
Dive into the world of artificial intelligence with the "AI for Programmers" ...
1 hour- AI
- Beginner
- 2 hours
-

AI for Designers
"AI for Designers" is a track exploring the fusion of artificial intelligence...
4 hours- AI
- Beginner
- 5 hours
- Certificate
-
College Credit: Introduction to HTML and CSS
Treehouse and UPI have teamed up to bring you CS 180: Introduction to HTML an...
14 hours- College Credit
- Beginner
- 14 hours
-

College Credit: Introduction to JavaScript
Treehouse and UPI have teamed up to bring you CS 190: Introduction to JavaScr...
14 hours- College Credit
- Beginner
- 14 hours
-

College Credit: Programming in Python
Treehouse and UPI have teamed up to bring you CS 230: Programming in Python, ...
15 hours- College Credit
- Beginner
- 16 hours
-
College Credit: Cybersecurity
Treehouse and UPI have teamed up to bring you CS 270: Cybersecurity, a colleg...
14 hours- College Credit
- Beginner
- 14 hours
-

AI for Everyone: Build Powerful Apps Without Coding
Unlock the power of AI-driven no-code development in this engaging workshop s...
5 hours- No-Code
- Beginner
- 5 hours
-

Skills for Modern Marketing & Business
Curate your marketing learning with this Treehouse Track. Courses in audience...
27 hours- Professional Growth
- Beginner
- 28 hours
- Certificate