Create a Dashboard
You've learned some of the basics of New Relic One. Now let's walk through creating a small dashboard that monitors the performance and availability of an application. You'll get hands-on practice with collecting data, then creating and previewing a simple dashboard.
Sign up for New Relic
If you haven't already, follow this link to sign up for your free New Relic account!
Get Started
You'll use Workspaces, our built-in text editor, to launch the simple app, monitor its usage, and add data to a custom dashboard.
Click the "Launch Workspace" button to launch the Treehouse Workspace associated with this step.
The Workspace includes files for a simple blog application built mainly with Python, HTML, and CSS. You don't need to understand what any of the project files do for now. In this step, you will work only with the file named newrelic.ini.
Add Your New Relic License Key
Your New Relic license key is created when you sign up for a New Relic account. This unique key determines the account to which you send your data, and some New Relic features will require you to input it. Learn more about how to view and manage your license key.
- In your Workspace, open the file
newrelic.ini. This is your New Relic configuration file. -
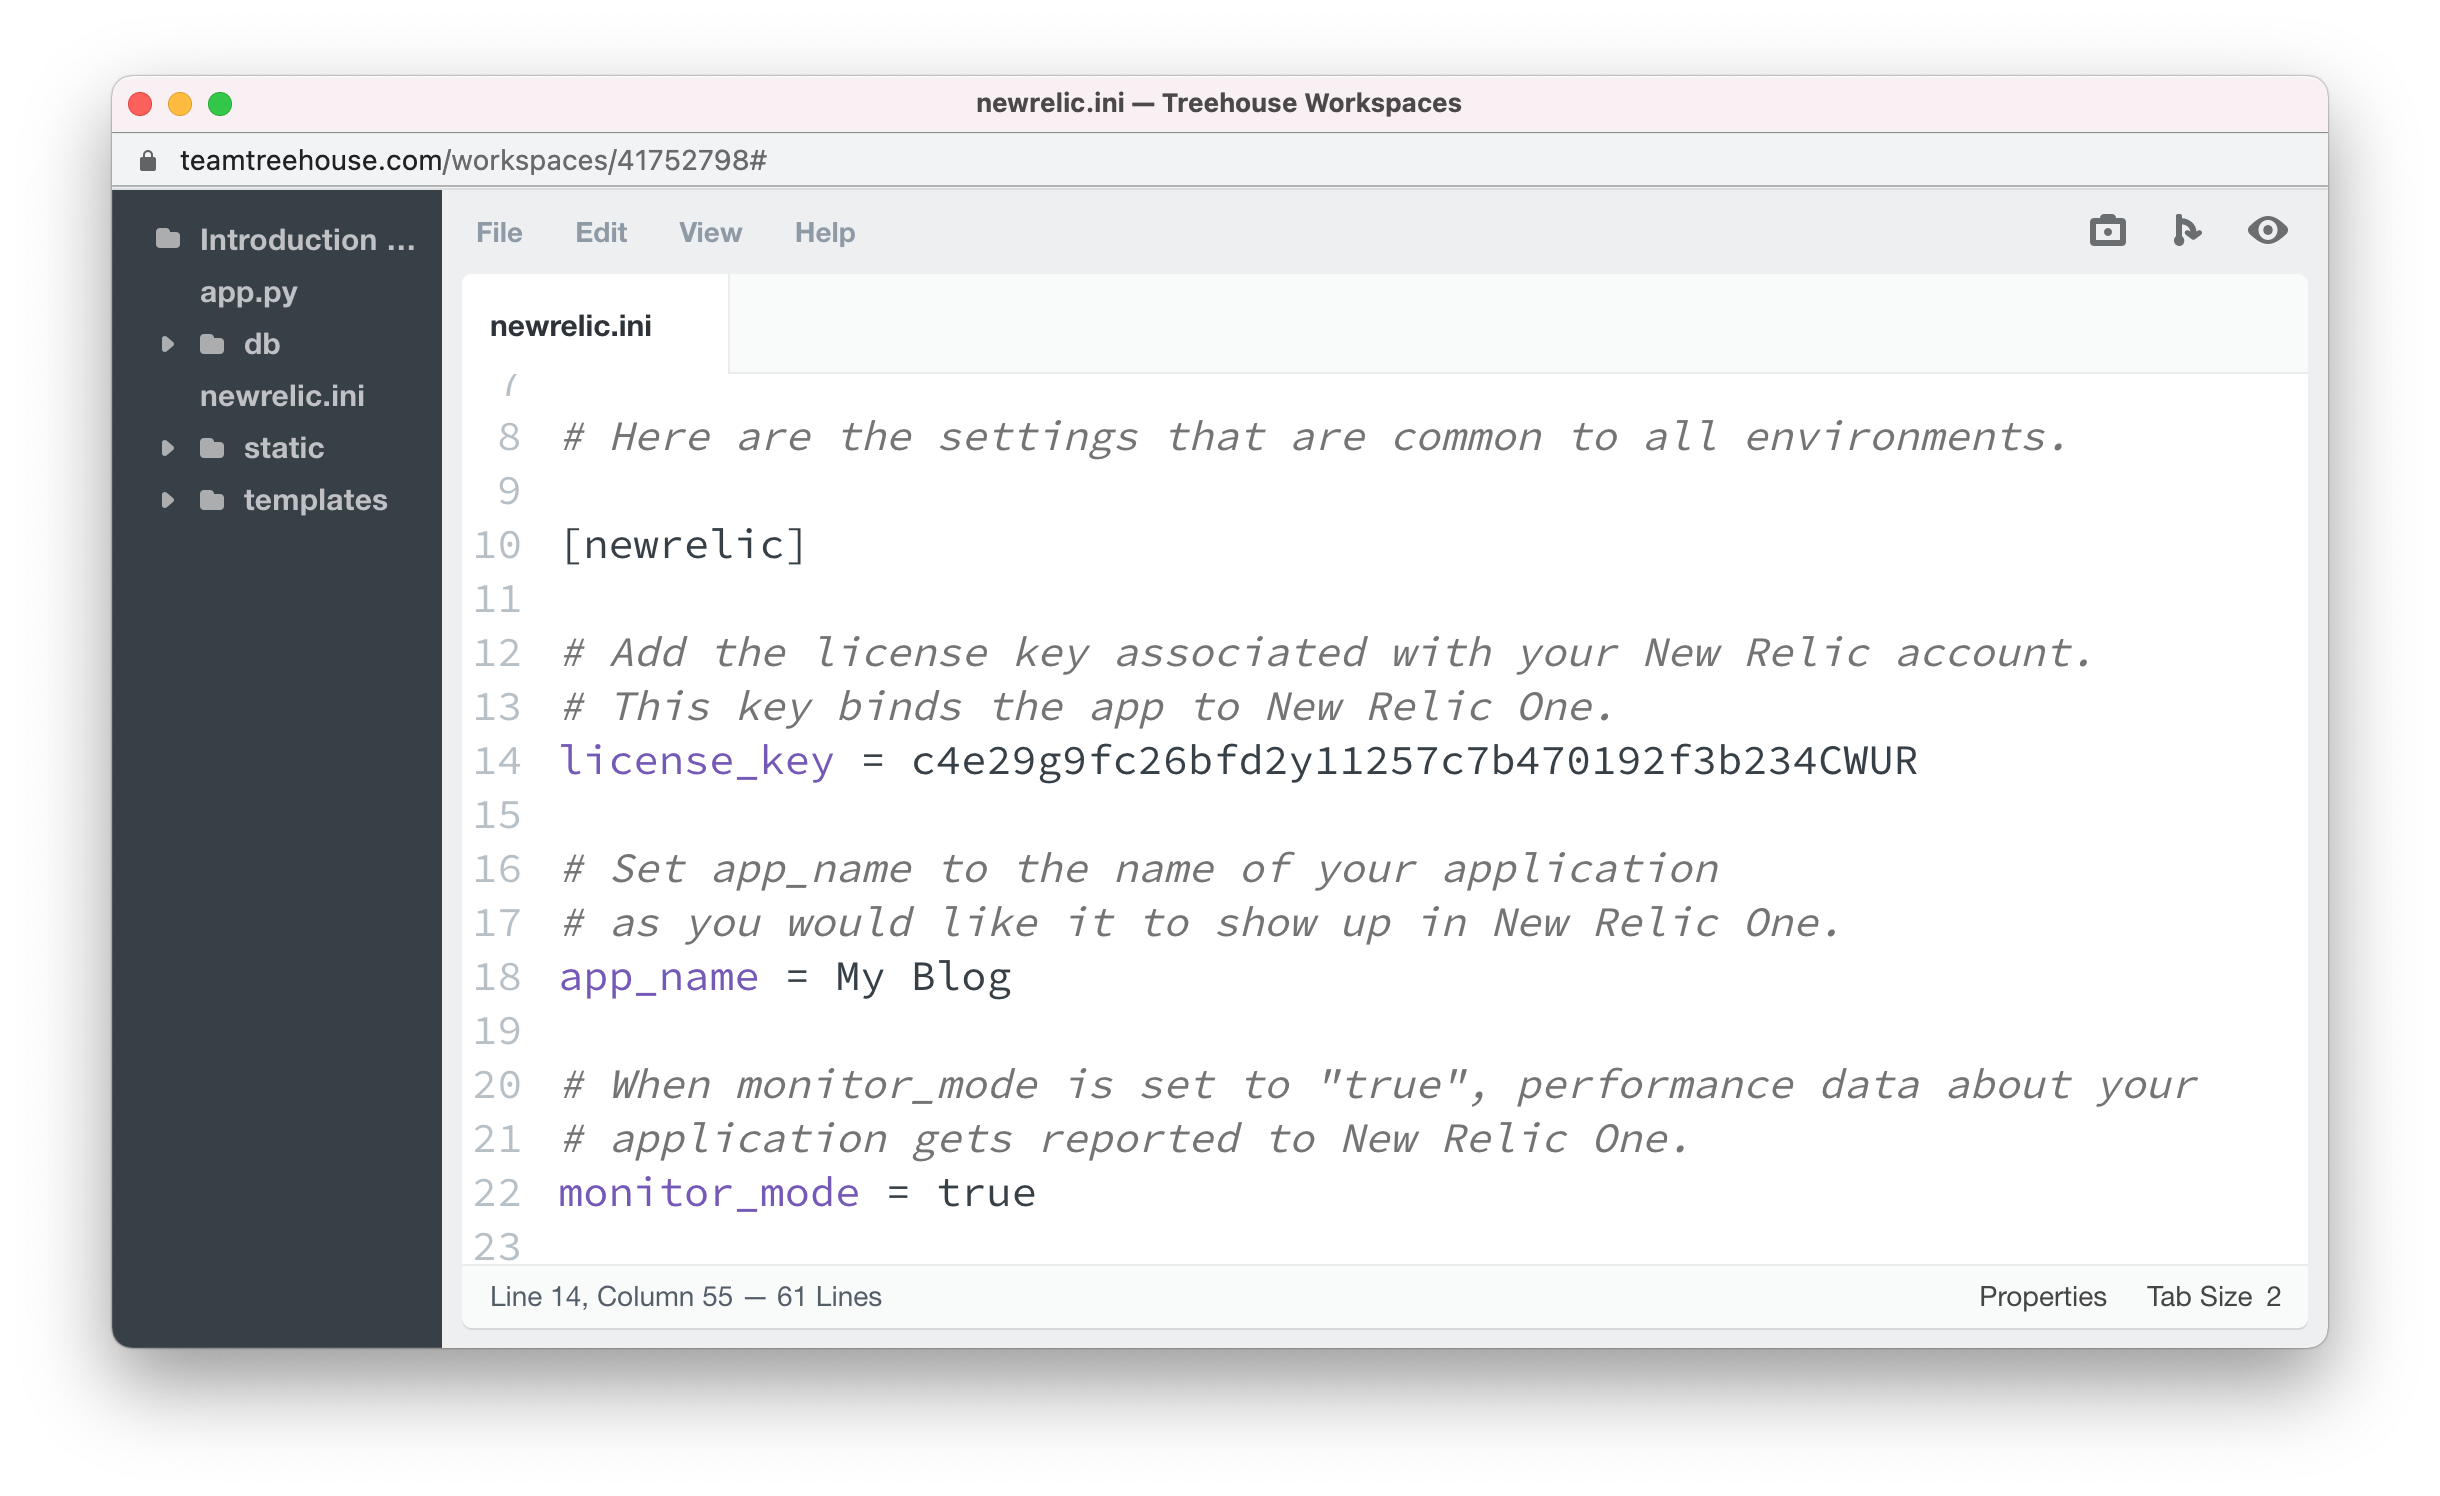
Add your New Relic license key on
line 14ofnewrelic.ini. Assign your key to thelicense_keyvariable, as shown below:This key binds the blog app to your New Relic One account.
Save your changes to the
newrelic.inifile. PressCommand + C(Mac) orCtrl + C(Win), or select File > Save from the Workspace menu.
Preview Your Workspace
Now let's run the code in your Workspace and preview the blog app in your browser.
-
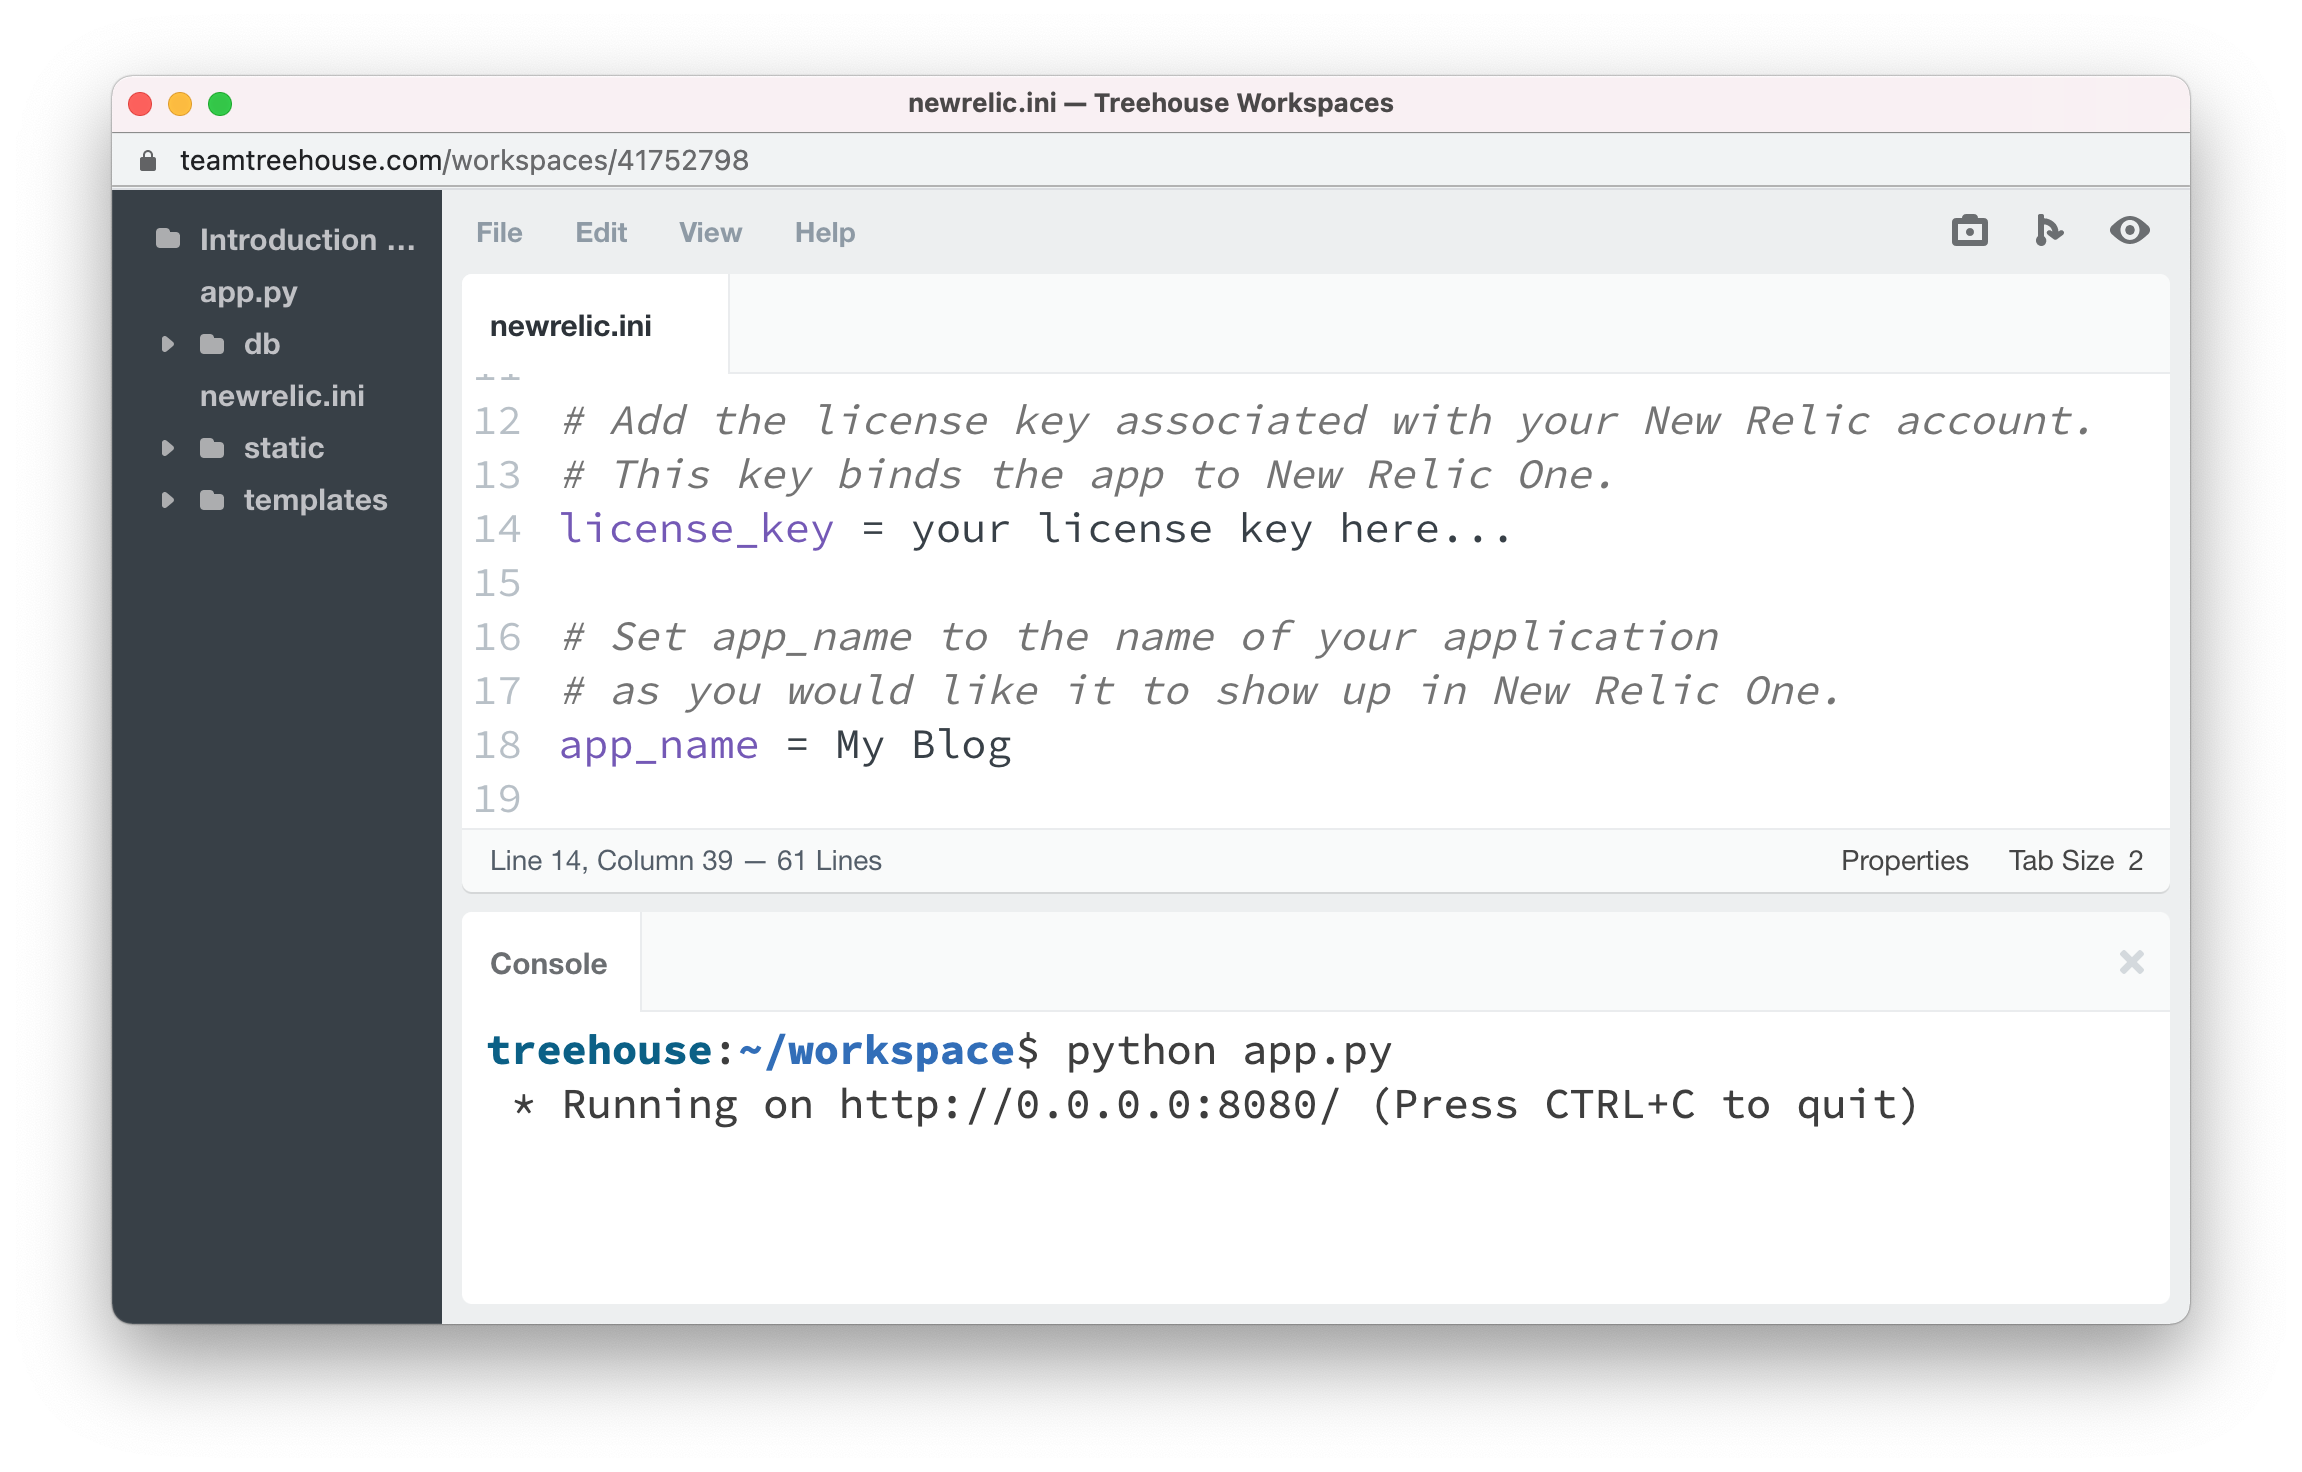
In your Workspace console, type
python app.py. This is how you tell Python to run a file. In this case, it'sapp.py. Press enter, and the file will run. -
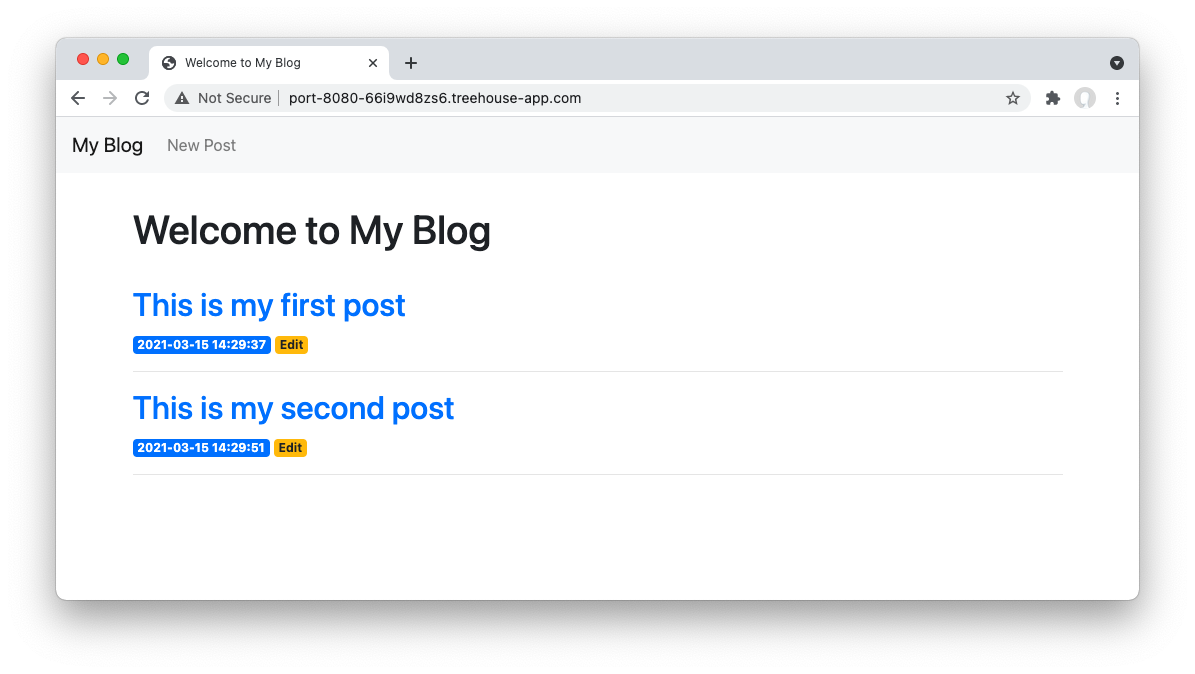
Preview the blog application in your browser by clicking the "Preview Workspace" (eyeball) icon in the top right corner of your Workspace. Select Port 8080 from the list of ports.
-
Test the blog app in the browser. For example, create new posts, edit a post, and delete a post.

View Your App's Data in New Relic One
Wait a few minutes for New Relic One to start collecting data.
-
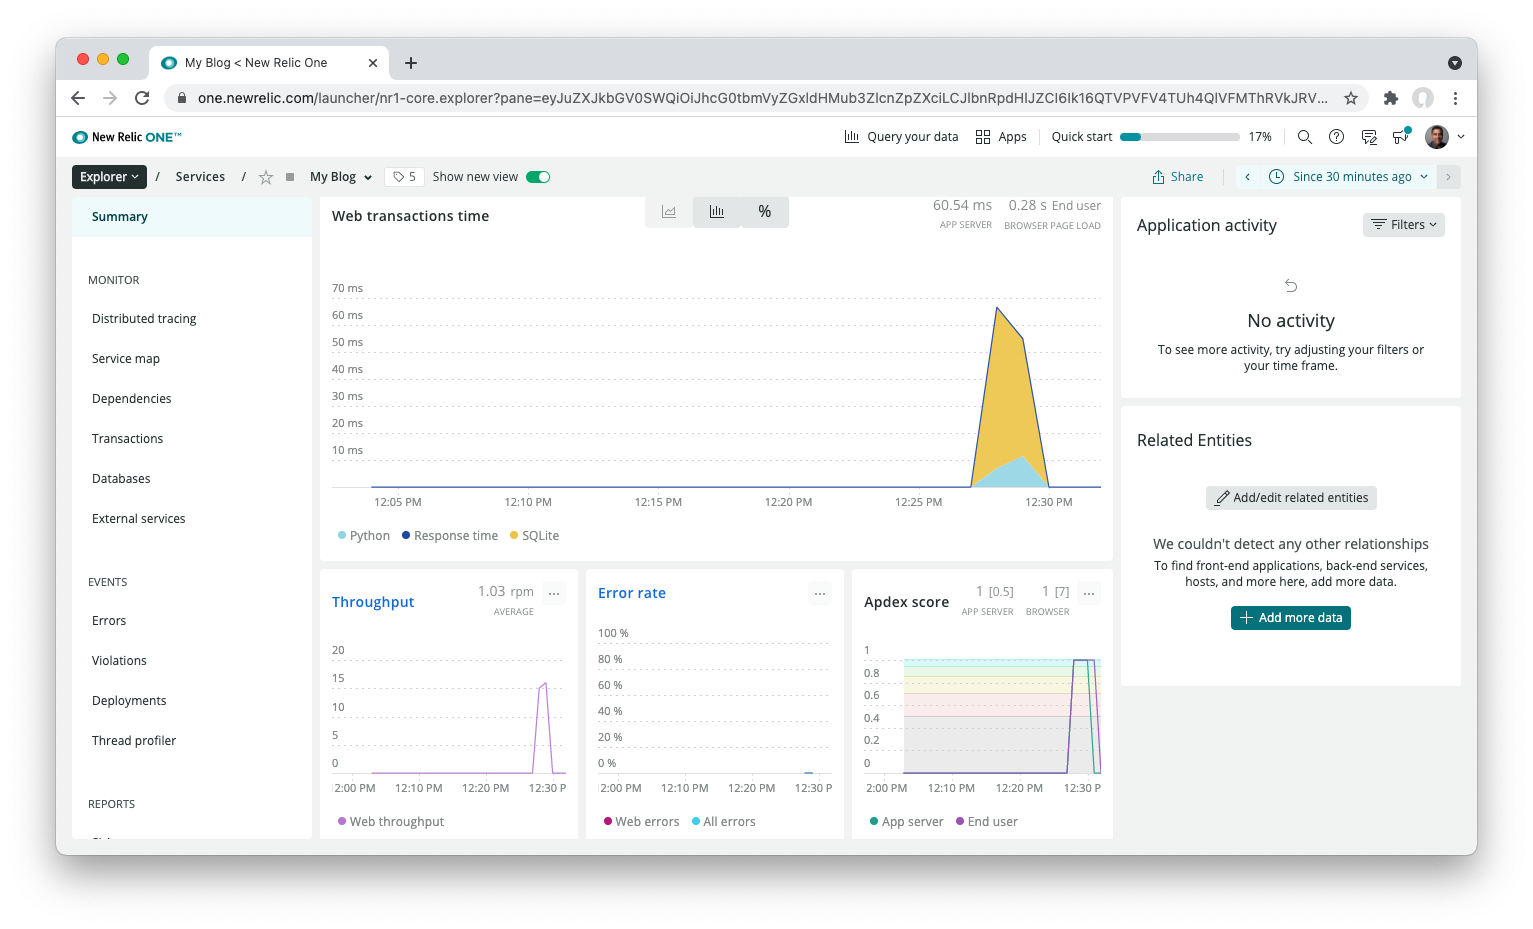
In New Relic One, click "APM" in the top navigation menu, then select your "My Blog" app from the list.
With New Relic's Application Performance Monitoring (APM), you have real-time and trending data about your web app's performance. Here you can view web transaction times, the number of successful requests per minute to your web server, any errors or specific performance problems, and more.
-
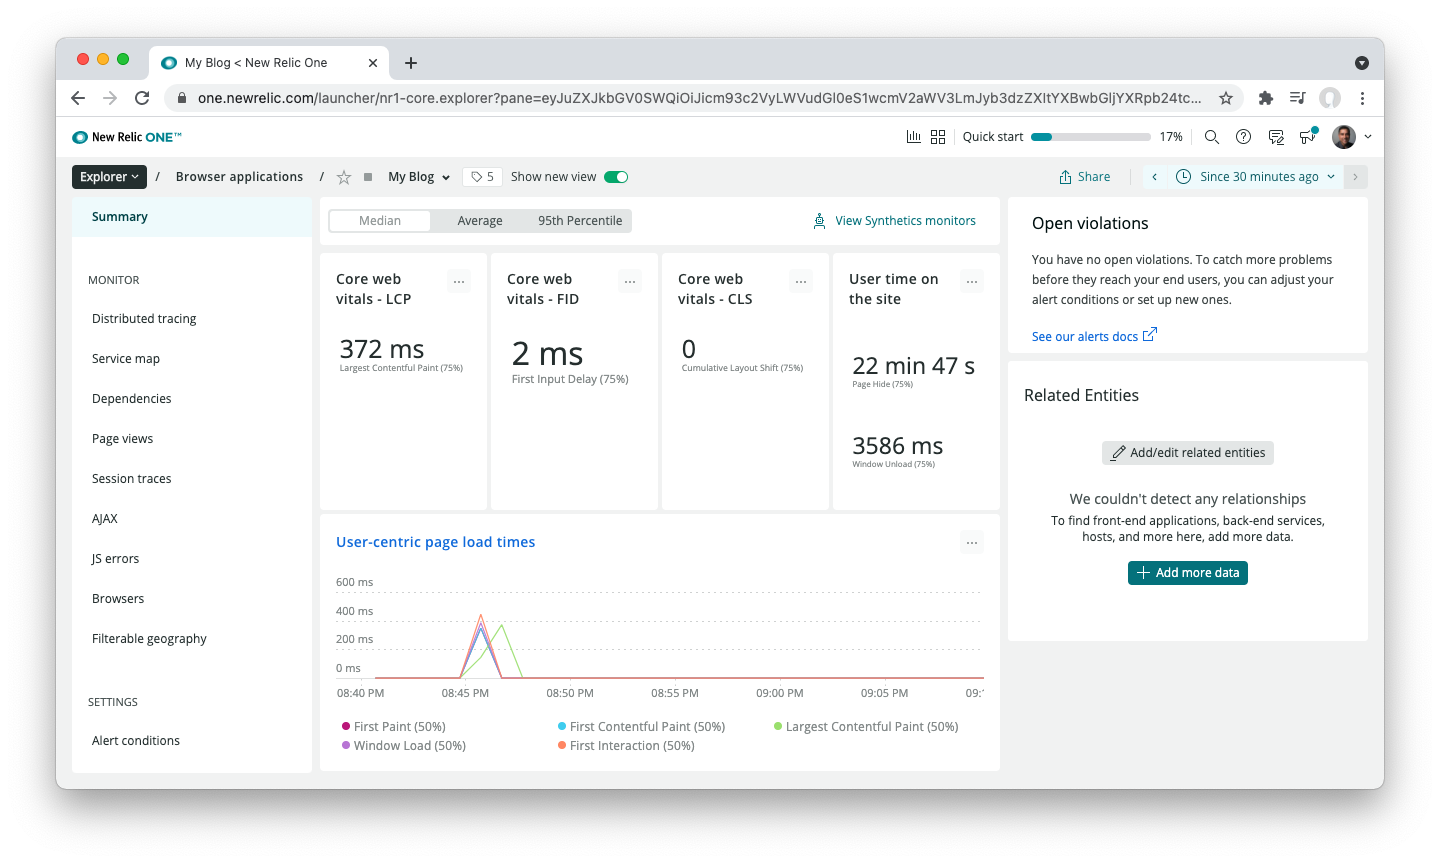
Next, click "Browser" in the top navigation menu, then select your "My Blog" app from the list.
With New Relic's Browser feature, you can review the time it takes your site's content display to users, its overall speed, how users interact with it, its overall functionality, and lots more.
Create a Dashboard and Add Data From a Chart
When you connect your site to New Relic One, you can add any of the data you're collecting to a custom dashboard. Review the video Discover New Relic One Dashboards to learn about dashboards and how to create one.
- Click "Dashboards" in New Relic One's top navigation menu. In the Dashboards page, click "Create a Dashboard".
- Name your new dashboard – for example, "My Blog App".
- Visit the Browser or APM sections of New Relic One and select the charts to add to your dashboard.
-
Add a custom heading and description to the dashboard. Below is an example of what your dashboard might look like.
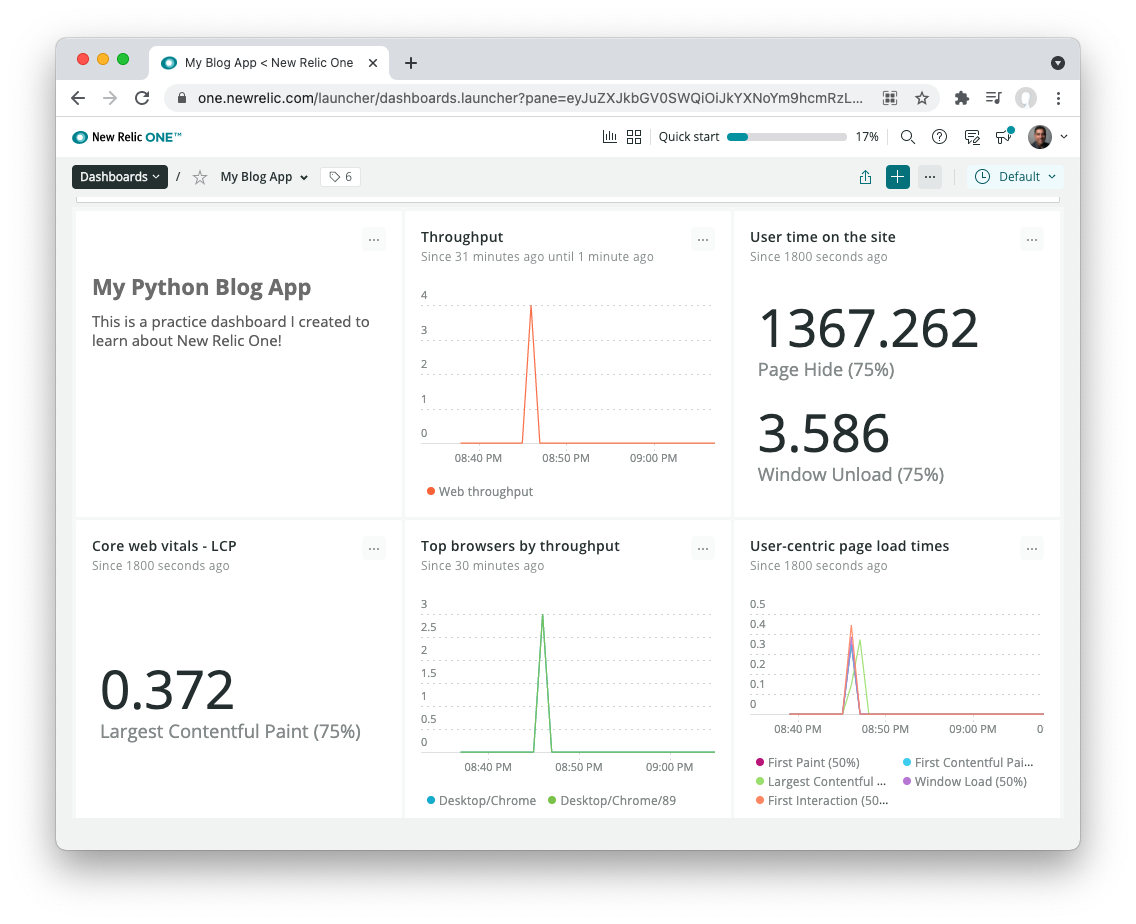
You can mark any dashboard as a favorite for quick access. Finally, to stop running your blog application, press Control + C in your Workspace console to quit the program.