This course will be retired on July 14, 2025.
Heads up! To view this whole video, sign in with your Courses account or enroll in your free 7-day trial. Sign In Enroll
Preview
Video Player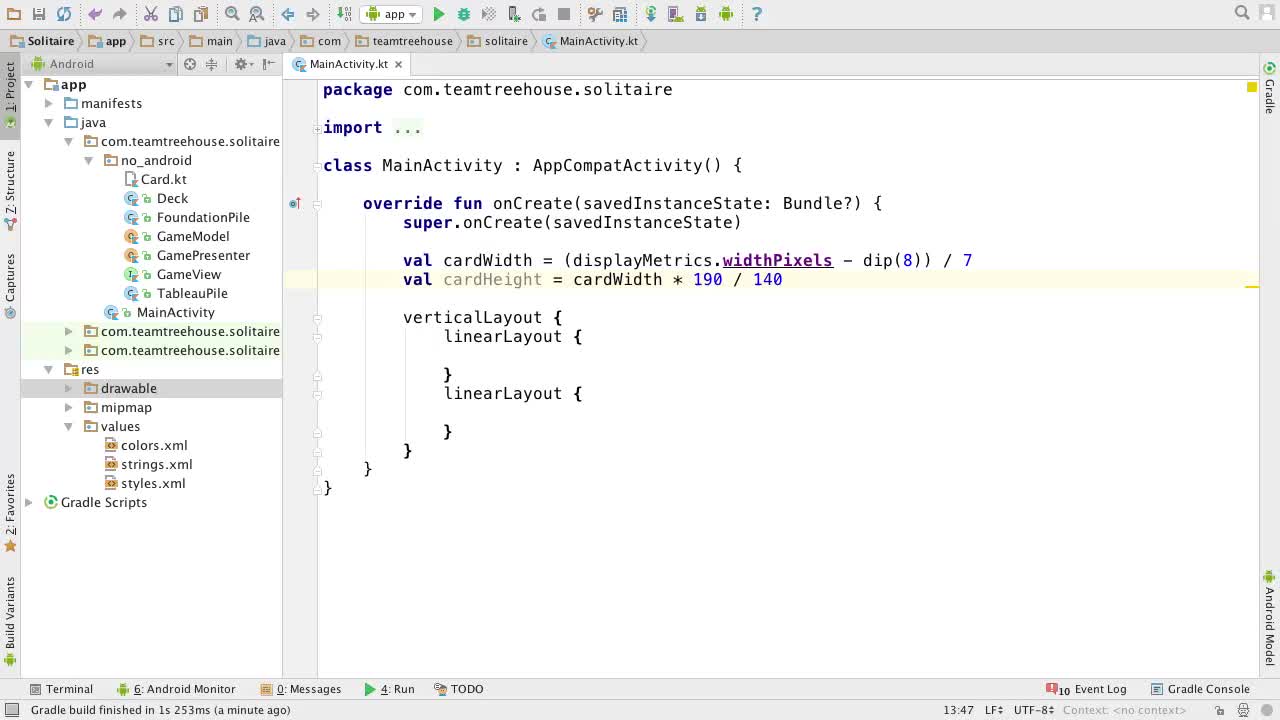
00:00
00:00
00:00
- 2x 2x
- 1.75x 1.75x
- 1.5x 1.5x
- 1.25x 1.25x
- 1.1x 1.1x
- 1x 1x
- 0.75x 0.75x
- 0.5x 0.5x
In this video we add the entire first row to our UI!
Related Discussions
Have questions about this video? Start a discussion with the community and Treehouse staff.
Sign upRelated Discussions
Have questions about this video? Start a discussion with the community and Treehouse staff.
Sign up
Now that we've got
the dimensions of a card,
0:00
let's try to layout just
the first row of our app.
0:02
Inside our first linear layout,
0:06
let's add an image view which
will represent our deck.
0:08
And inside this image view,
let's set the imageResource
0:12
property equal to one of
the green card backs.
0:17
So R.drawable, and then I'll pick
the fifth one .cardback_greenfive.
0:22
Next, we just need to make this
image view the size of a card.
0:29
So let's add the .lparams function.
0:34
And then add our brackets.
0:40
And then inside this
function let's set width
0:43
= to cardWidth and height = to cardHeight.
0:47
And at this point, if we run the app
there should be a green card
0:52
in the upper left that's about as
wide as one seventh of the screen.
0:56
Yeah, that looks about right.
1:01
Now before we get on with the rest of the
first row let's make some small changes to
1:03
what we just wrote.
1:08
For starters, instead of setting
the image resource like this, we can just
1:10
call a different version of the imageView
function and pass in just the resource.
1:15
Instead of passing in this whole function.
1:21
So let's delete this function parameter
and replace it with parentheses.
1:23
And now, we can see that we can pass
in the image resource as a parameter.
1:28
So let's pass back in our resource ID,
R.drawable.cardback_green5.
1:33
And there we go.
1:42
It's the same thing as before but
a little bit shorter.
1:43
Anko's always giving us options like this.
1:47
Another one of these options
is the lparams function.
1:50
We've already seen from looking in
the underscore relative layout class
1:54
that there are a few different
versions of the lparams function.
1:57
So again, let's delete this function
parameter and replace it with parentheses.
2:00
Then let's just pass in cardWidth for
the width and
2:07
cardHeight for the height and
bam all one line image view.
2:11
Now let's run this again and
what a terrible failure.
2:16
Let's take a look at the different
versions of image view
2:22
to see what's going on.
2:24
If we add a comma at
the start of the function,
2:26
we can look at all the different options.
2:28
And we can see that we're using
the option with only one parameter.
2:32
So it turns out that even while
we are passing in a resource ID
2:37
we're passing it in as the theme.
2:41
To fix this we can just pass in
a second parameter for the theme,
2:44
But that's not a very satisfying
solution instead a better solution
2:52
is to tell Kotlin exactly what
parameter we're passing in.
2:56
So in front of our resource ID
let's add image resource =.
3:02
And now if we run the app,
we're back to getting what we expected.
3:09
Now let's get back to where we were and
3:16
let's finish out this first row.
3:20
Let's use command or Ctrl+D.
3:24
To duplicate this line for a waste pile
and then let's change the resource
3:26
from cardback_green5 to cardback_blue1.
3:31
We'll be using this cardback
to signify an empty pile.
3:37
After our deck and waste pile
comes a space the size of a card.
3:41
On the next line let's type view and
then parentheses to create a view and
3:46
then let's give that view a width
of card width and a height of zero.
3:52
So .lparams, pass in cardWidth for the
width and for the height let's pass in 0.
3:57
Finally we need to add
the four foundations.
4:07
Let's start with the loop from
4:10
zero to three for I in zero to 3.
4:15
And inside this loop let's copy and paste
in our image view with the blue cardback.
4:21
Then let's run the app again.
4:31
And look at that.
4:36
It's starting to look
like a game of Solitaire.
4:36
But it looks like we forgot
about our spacing on the sides.
4:40
Remember, we wanted 4dip on each side?
4:43
Back in the code,
4:46
one way we could do this is by adding
an lparams block to our linear layout.
4:48
And then setting the leftMargin
equal to four dip and
4:56
the right margin equal to 4 dip.
5:02
And now, our linear layout,
we'll start 40 PN and from the left and
5:11
it will end 40 PN and from the right.
5:15
But that's only for
5:19
this one linear layout, Instead of
adding a margin to our linear layouts
5:20
layout params what we really want to do
is add padding to our vertical layout.
5:26
So that each of the views
Inside our vertical layout,
5:30
we'll four dip on either side.
5:34
So let's delete this lparams block and
5:37
then add a line at the top
of our vertical layout.
5:40
Next let's set paddingLeft = dip 4.
5:45
And now we get a val cannot
be reassigned error, lame.
5:54
In Android the only way to
programmatically set padding
6:00
is by using the set padding method.
6:04
So we won't be able to declare
our paddings one at a time.
6:07
So instead let's type setPadding and
6:11
pass and four dip for
the left, 0 for the top,
6:16
four dip for the right,
and hold on a minute.
6:22
I've just been told we actually
can set these one at a time.
6:28
It turns out that instead
of using padding left
6:32
we should have been using left padding.
6:35
So let's delete this
setPadding nonsense and
6:38
then let's set leftPadding
= to the DIP four.
6:43
Then let's also set rightPadding = 4 dip.
6:50
And while we're at it, let's also
add 8 piece of padding to the top.
6:58
TopPadding = dip 8.
7:02
Nice, also real quick,
if we use command or
7:09
Ctrl+B to jump to one of
these padding declarations.
7:13
We can see that it ends up calling
set padding just like it has to.
7:18
Now let's close that and
7:23
run the app one more time to make
sure it looks like it should.
7:24
Looks great.
7:30
You need to sign up for Treehouse in order to download course files.
Sign upYou need to sign up for Treehouse in order to set up Workspace
Sign up